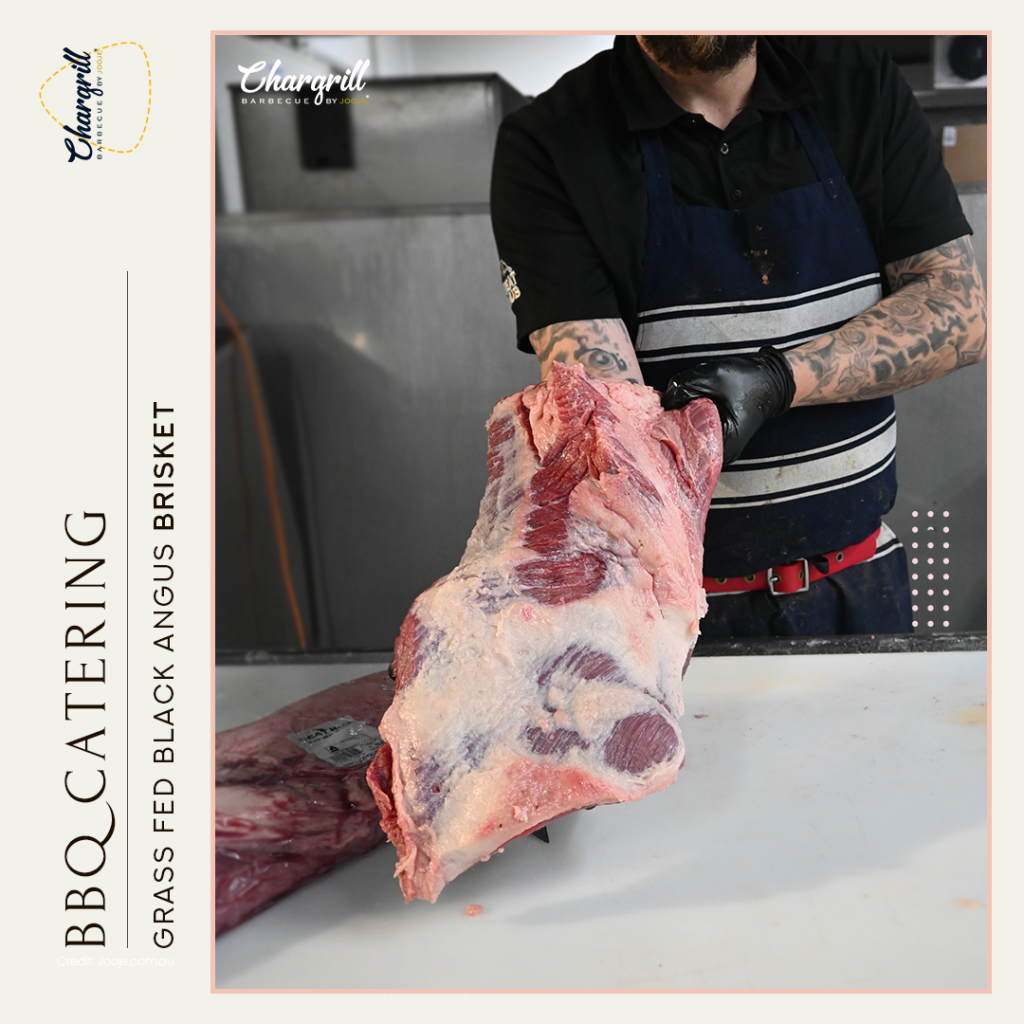
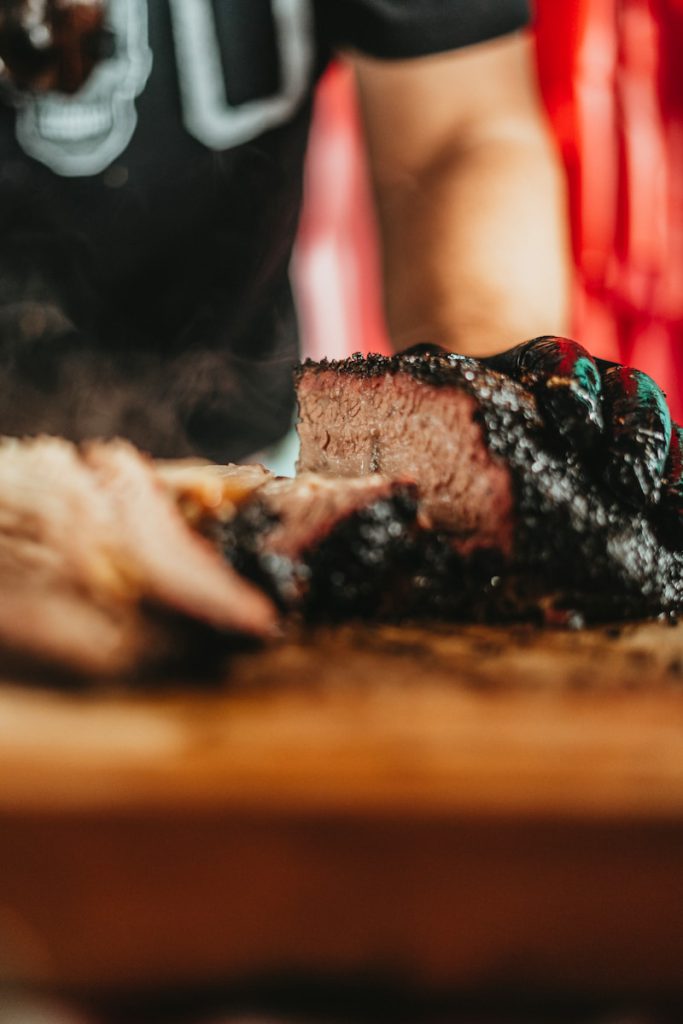
Understanding the anatomy of a brisket is crucial before you start trimming brisket. A brisket consists of two main muscles: the flat and the point. The flat is a leaner, more tender muscle located on top, while the point is a fattier, more flavorful muscle located on the bottom. Knowing these parts helps you decide how much fat to trim to ensure even cooking and flavor or buying a ready to eat protein meal like smoked brisket..
Understanding Brisket Anatomy
- Identifying the Flat and Point: The flat is the larger, leaner section, and the point is the smaller, fattier part.
- Marbling and Fat Distribution: Look for marbling (fat within the meat) that indicates good quality.
- External Fat Cap: This layer of fat protects the meat during cooking.
- Silver Skin: A tough membrane that should be removed.
- Connective Tissues: Understanding where these are helps in trimming properly.
Tools Needed for Trimming Brisket
| Tool | Description |
|---|---|
| Sharp Knife | Essential for clean cuts |
| Cutting Board | Stable surface for trimming |
| Paper Towels | For patting the brisket dry |
| Gloves | Optional for better grip and safety |
Key Tips for Trimming
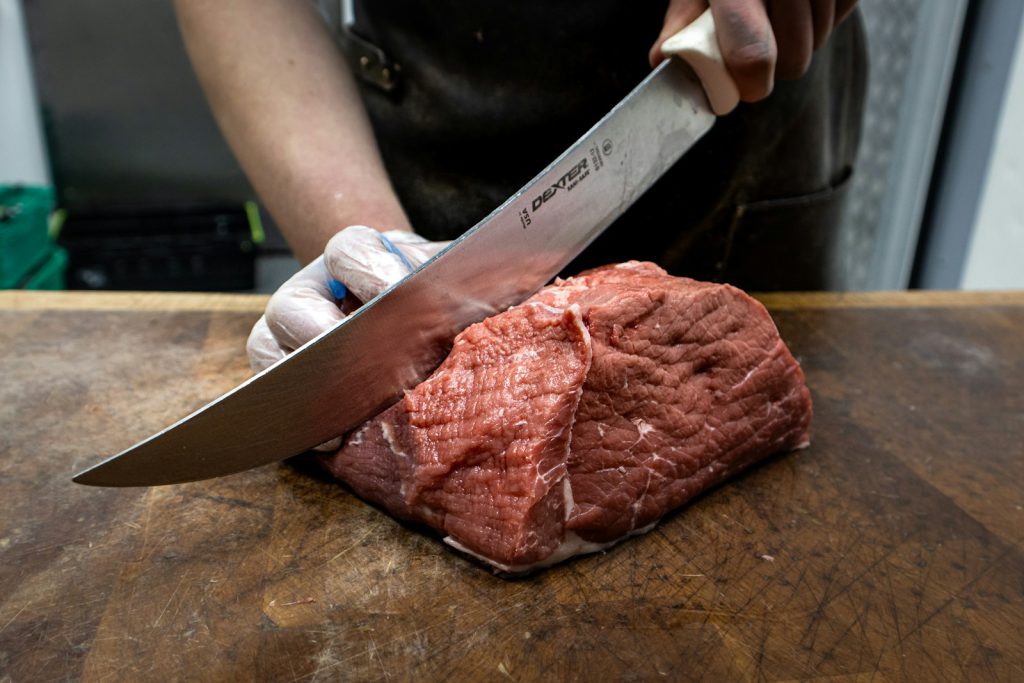
- Always use a sharp knife, especially when getting ready for catering a bbq event and needing to cut and trim plenty of meats.
- Trim away silver skin for better smoke penetration.
- Leave a thin layer of fat for moisture and flavor.
Step 2: Preparing Your Workstation
Before you start trimming, set up your workstation with all necessary tools. Ensure you have a clean, sturdy cutting board, a sharp knife, and paper towels to dry the brisket. Wearing gloves can also provide better grip and protect your hands.
- Choosing the Right Knife: A boning knife or a chef’s knife is ideal.
- Sanitizing Your Tools: Keep everything clean to avoid contamination.
- Setting Up Your Cutting Board: Ensure it’s stable and secure.
- Workspace Lighting: Good lighting helps you see better.
- Safety Precautions: Always cut away from your body.
Essential Tools for Trimming
| Tool | Purpose |
|---|---|
| Boning Knife | For precise cuts |
| Chef’s Knife | For larger sections |
| Cutting Board | Stable trimming surface |
| Paper Towels | Drying the brisket |
| Gloves | For grip and protection |
Setting Up
- Clean and sanitize all tools.
- Ensure your cutting board is stable.
- Have a trash bin nearby for trimmings.
Removing the Fat Cap
Place the brisket fat side up on the cutting board. Using your knife, carefully remove the thick layer of fat (fat cap) on top, leaving about 1/4 inch to protect the meat during cooking.
- Identifying the Fat Cap: Recognize the thick layer on top.
- Trimming Techniques: Use long, shallow cuts.
- Maintaining Even Thickness: Ensure uniform fat distribution.
- Handling the Knife: Proper grip and cutting angles.
- Visual Checks: Assess your progress frequently.
Fat Cap Removal Steps
| Step | Action |
|---|---|
| Identify Fat Cap | Locate the thick top layer |
| Make Initial Cuts | Use shallow, long strokes |
| Check Thickness | Aim for 1/4 inch uniform layer |
| Adjust as Needed | Remove excess carefully |
| Final Check | Ensure even coverage |
Removing the Fat Cap
- Keep the knife parallel to the brisket.
- Aim for a consistent fat layer.
- Regularly check thickness visually.
Trimming the Point
Turn the brisket over to trim the point. Remove excess fat and connective tissue while leaving enough to enhance flavor and prevent drying.
- Locating the Point: Understand its position and structure.
- Trimming Excess Fat: Remove thick chunks of fat.
- Maintaining Flavor Fat: Leave some fat for flavor.
- Avoiding Meat Loss: Trim carefully to avoid wasting meat.
- Uniform Trimming: Ensure evenness for consistent cooking.
Trimming the Point Steps
| Step | Action |
|---|---|
| Locate the Point | Find the fattier section |
| Remove Excess Fat | Cut away large fat chunks |
| Maintain Flavor Fat | Leave a thin layer of fat |
| Check Uniformity | Ensure even fat distribution |
| Final Adjustments | Trim carefully for consistency |
- Focus on removing hard fat.
- Leave enough fat to keep the meat moist.
- Ensure the fat layer is even.
Cleaning Up the Flat
Flip the brisket back over to the flat side. Remove any remaining silver skin and excess fat. This step ensures that the brisket will cook evenly and have a better texture.
- Identifying Silver Skin: Recognize the tough membrane.
- Trimming Techniques: Use a sharp knife for clean cuts.
- Even Fat Distribution: Ensure the flat has an even fat layer.
- Handling Connective Tissue: Remove tough tissues carefully.
- Final Touches: Smooth out any rough spots.
Cleaning Up the Flat Steps
| Step | Action |
|---|---|
| Locate Silver Skin | Identify the tough membrane |
| Make Initial Cuts | Remove using shallow strokes |
| Ensure Even Fat Layer | Leave a thin layer for protection |
| Remove Connective Tissue | Trim away tough fibers |
| Final Smoothing | Smooth out the surface |
Cleaning Up the Flat
- Remove all silver skin for better texture.
- Leave a thin, even layer of fat.
- Check for and remove any remaining tough tissues.
Squaring Off the Edges
Use your knife to square off the edges of the brisket, creating a more uniform shape. This helps it cook evenly and presents better.
- Why Square Edges: Ensures even cooking.
- Making Straight Cuts: Techniques for clean edges.
- Uniform Shape: Aim for a rectangular shape.
- Handling Loose Meat: Remove any loose pieces.
- Final Checks: Ensure all edges are smooth.
Squaring Off the Edges Steps
| Step | Action |
|---|---|
| Identify Uneven Edges | Locate irregular edges |
| Make Straight Cuts | Use the knife for clean edges |
| Aim for Rectangular Shape | Create uniform edges |
| Remove Loose Pieces | Cut away hanging meat |
| Final Adjustments | Smooth out all edges |
Squaring Off the Edges
- Trim edges for uniform shape.
- Remove any loose or hanging meat.
- Aim for a neat, rectangular brisket.
Scoring the Fat
Using a sharp knife, score the remaining fat cap in a crosshatch pattern. This allows the smoke and seasonings to penetrate deeper into the meat.
- Purpose of Scoring: Enhances flavor absorption.
- Scoring Techniques: How to make even cuts.
- Crosshatch Pattern: Ensuring uniform scoring.
- Depth of Cuts: Avoid cutting into the meat.
- Visual Assessment: Regularly check your progress.
Scoring the Fat Steps
| Step | Action |
|---|---|
| Purpose of Scoring | Enhance flavor absorption |
| Make Initial Cuts | Start with shallow strokes |
| Create Crosshatch Pattern | Ensure even spacing of cuts |
| Avoid Cutting Meat | Keep cuts shallow |
| Regular Checks | Assess scoring depth |
Scoring the Fat
- Score in a crosshatch pattern.
- Keep cuts shallow to avoid meat.
- Ensure even spacing for better flavor.
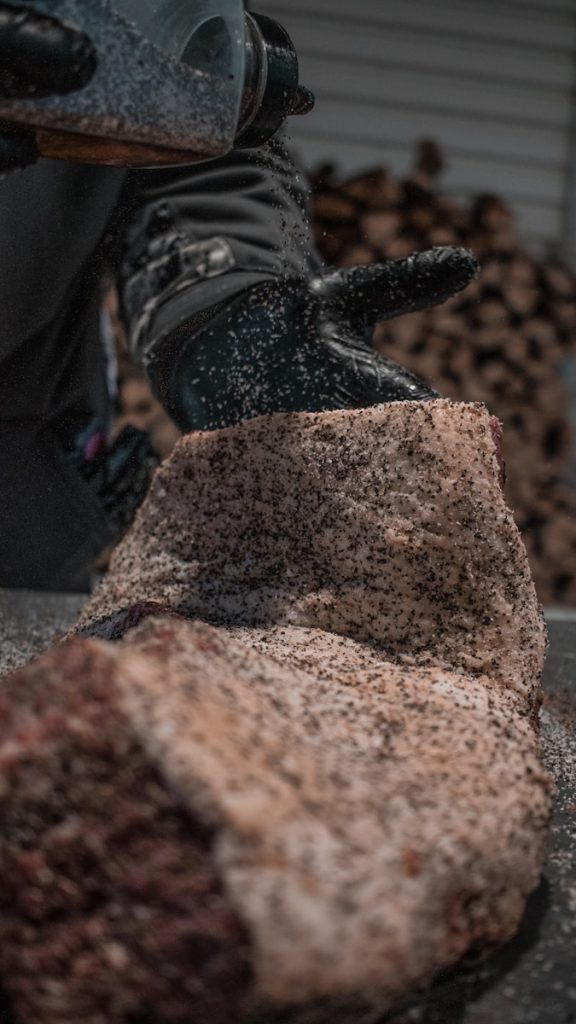
Seasoning the Brisket
After trimming, it’s time to season the brisket generously with your favorite rub. Common seasonings include salt, pepper, garlic powder, and paprika.
- Choosing a Rub: Select based on your flavor preference.
- Application Techniques: How to apply the rub evenly.
- Seasoning Amounts: Ensure generous coverage.
- Marinating: Optional step for enhanced flavor.
- Rub Variations: Different recipes and their effects.
Common Seasonings for Brisket
| Seasoning | Flavor Profile |
|---|---|
| Salt | Enhances natural meat flavor |
| Black Pepper | Adds a spicy kick |
| Garlic Powder | Deep, savory flavor |
| Paprika | Mild heat and color |
| Brown Sugar | Adds sweetness and caramelization |
Seasoning the Brisket
- Apply rub generously for flavor.
- Use even strokes to cover all surfaces.
- Optional: Marinate for deeper flavor absorption.
Final Checks and Preparation
Before placing the brisket on the smoker, give it a final inspection. Ensure that all areas are evenly trimmed, there are no stray pieces of fat or silver skin, and the seasoning is evenly distributed. This step is crucial to ensure that the brisket cooks evenly and has a consistent flavor profile.
- Visual Inspection: Check for any missed fat or silver skin.
- Uniform Seasoning: Ensure the rub covers all surfaces evenly.
- Trimming Adjustments: Make any necessary final trims.
- Balancing the Brisket: Ensure the brisket is evenly thick for uniform cooking.
- Equipment Check: Ensure your smoker is prepped and ready.
Final Checklist Before Smoking
| Step | Action |
|---|---|
| Visual Inspection | Look for any missed fat or silver skin |
| Check Seasoning | Ensure even distribution of rub |
| Final Trimming | Make any necessary last trims |
| Balance the Brisket | Ensure even thickness |
| Equipment Check | Confirm smoker is ready |
Final Preparation Tips
- Inspect the brisket for any remaining fat or silver skin.
- Ensure the rub is evenly applied to all surfaces.
- Make any final trims to create a uniform thickness.
- Preheat and prep your smoker for optimal results.
How do I know if I’ve trimmed the brisket correctly?
The brisket should be uniform in shape, with no excess fat or connective tissue. The fat cap should be thin and scored, and the surface should be well-seasoned.
Can I trim a brisket a few days before cooking?
Yes, you can trim a brisket up to three days before cooking. Store it in the refrigerator, wrapped in plastic wrap.
What should I do with the fat trimmings?
Season the fat trimmings with salt and pepper and render them down in a skillet. Use the rendered fat to enhance the flavor of your other barbecue dishes.
Should I remove all the fat from the brisket?
No, you should leave a thin layer of fat (about 1/4 inch) to protect the meat during cooking and to add flavor.
What type of knife is best for trimming brisket?
A sharp boning knife or chef’s knife is ideal for trimming brisket due to its flexibility and precision.
How do I avoid over-trimming the brisket?
Make small, shallow cuts and remove fat gradually. It’s better to trim conservatively at first; you can always remove more fat later if needed.
Is it necessary to score the fat cap?
Scoring the fat cap allows the smoke and seasonings to penetrate deeper into the meat, enhancing the overall flavor. It’s not mandatory but highly recommended for better results.
By following these detailed steps and tips, you’ll be well on your way to mastering the art of trimming brisket, ensuring that your BBQ skills are top-notch and that your brisket is perfectly prepared for smoking.